In my previous post I gave you a sneak peek at my latest DIY project. I've made several of these necklaces lately for Christmas gifts and client gifts and I thought I would share the instructions so that you can make them too!
Materials needed:
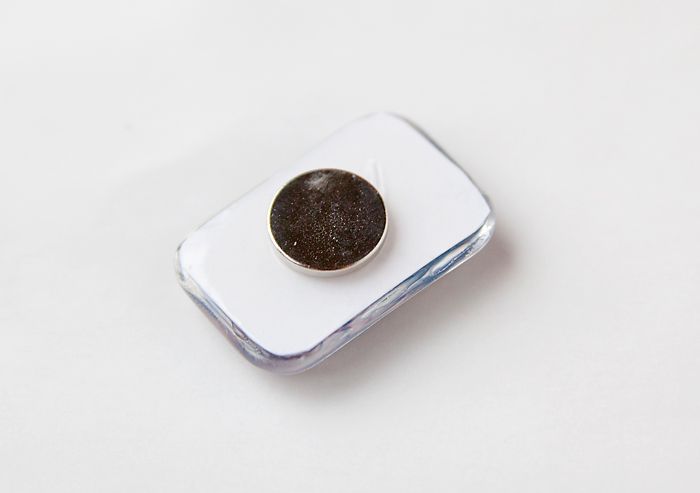
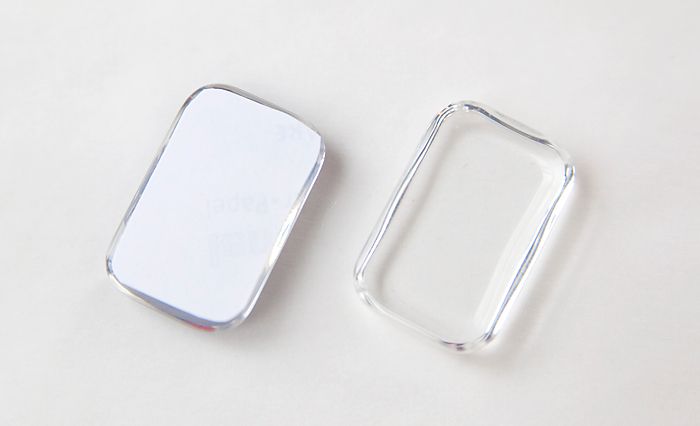
- Glass tiles (these come in a variety of shapes and sizes.)
- Photographs printed on photo paper
- Scissors or exacto knife
- Wax paper
- Paper towels
- Toothpicks
- Clear drying craft glue (e.g. Diamond Glaze or Mod Podge)
- Super glue or E6000
- Jewelry bails and necklace chains

I bought all of my
supplies through Sun and Moon Craft Kits. They can also be found at local craft stores or online jewelry supply
stores.
1. Before you make the
necklaces, you will need to select a photo or two to use as your
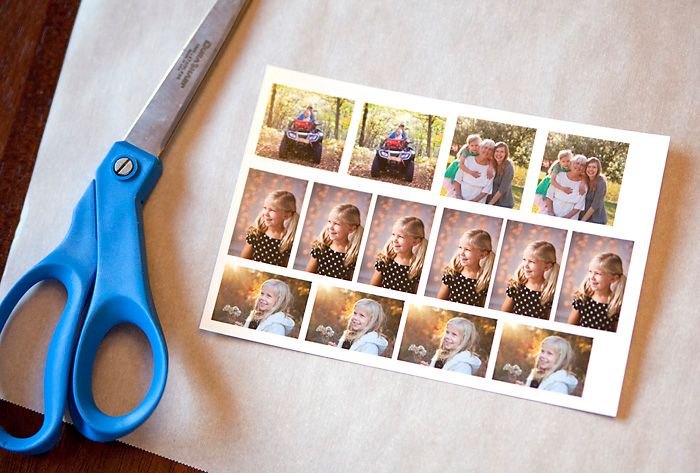
image. Once you select your photo, use Photoshop or another image
editing software to size the image to the approximate size of your
tiles. You can fit several small images on one 4x6 print.
2. Once you have your
materials gathered and your photos printed, you are ready to get to
work! Start by covering your work surface with a sheet of wax
paper.
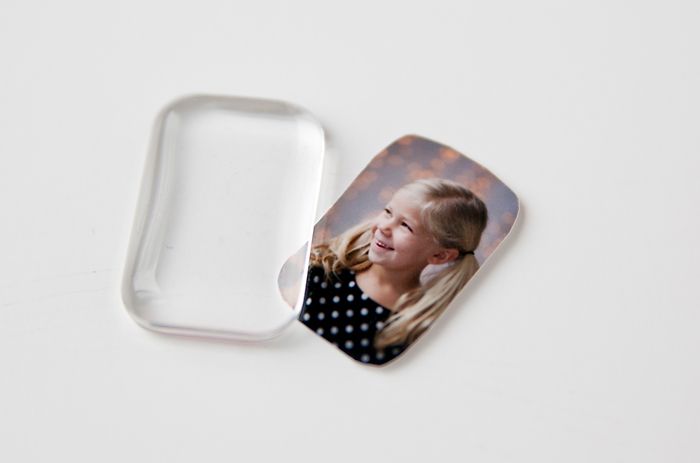
3. Cut
your image to match the size of your glass tile. It should be just a
bit smaller
than the glass tile. (about 1 mm smaller all the way around) This
allows the glue to seal around the edges. I also rounded the corners
a bit to make the images match the shape of the tiles better.
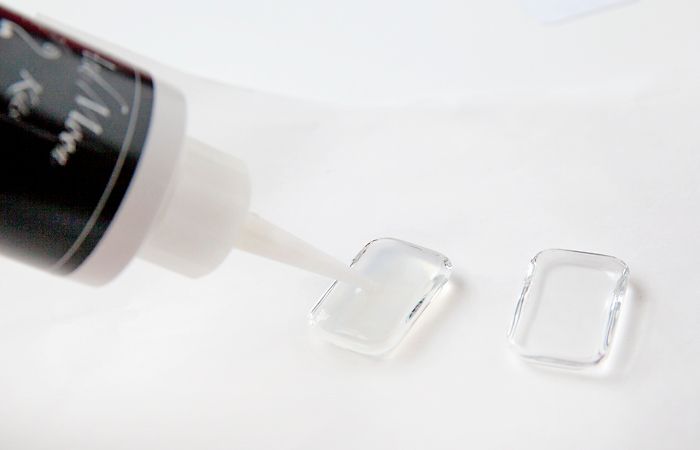
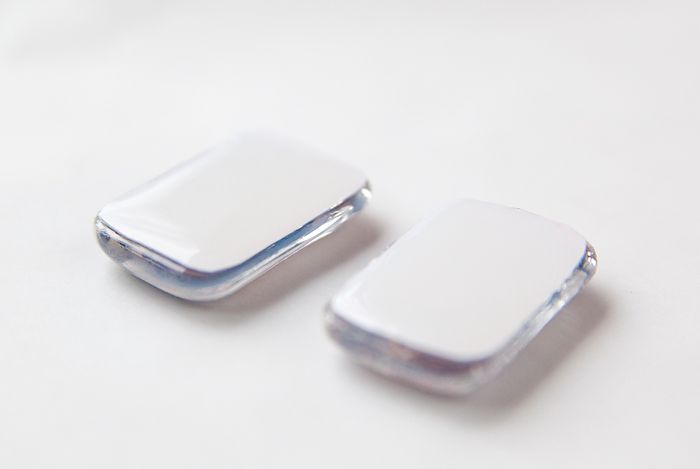
4. Next, coat the flat side
of the glass tile with a thin coat of glaze and gently place your
trimmed image face-down onto the tile. If there is excess glaze,
quickly wipe it away with a toothpick or paper towel. Allow to
dry for about an hour.
5. Once dry, put another
layer of glaze over the back of the photo to seal it. Let this dry
completely, about 5-6 hours or overnight.
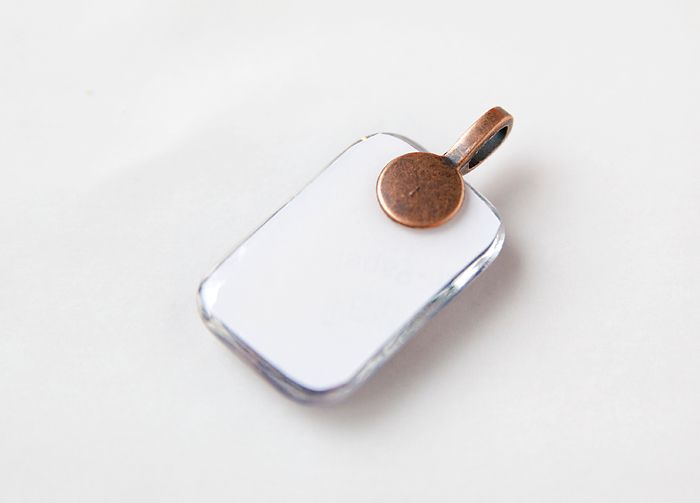
6. Glue a bail to the back
of the pendant using a super glue such as E6000. Place a small drop
where you would like the top of the necklace to be, and press the
bail into the glue. Let dry for about an hour.
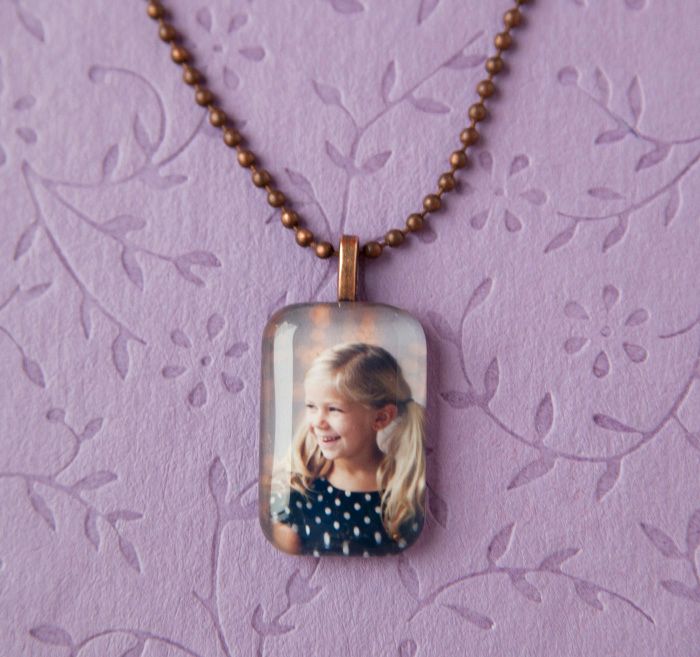
7. Place your chain through
the bail and your necklace is ready to wear!
*To make this into a
magnet:
Instead
of using a bail, simply glue a small magnet onto the back of the
finished tile.